Article
Smart Trainer Setup Guide: 10 Minutes to a Hassle-Free Indoor Ride
![[HERO] Smart Trainer Setup Guide: 10 Minutes to a Hassle-Free Indoor Ride](https://cdn.marblism.com/szsN5oPorId.webp)
You bought a smart trainer to get faster, not to spend your precious training hours acting as an unpaid IT consultant. We get it. There is nothing more soul-crushing than being kit-up, caffeinated, and ready to suffer, only to spend twenty minutes staring at a "No Signal" screen.
Indoor cycling should be about the work, not the setup. Whether you are prepping for a grueling FTP test indoor cycling session or just looking for a solid bike trainer workout to stay fit, the barrier to entry needs to be zero.
This guide strips away the fluff. Follow these steps to transition from "box on the floor" to "pedaling in the pain cave" in exactly ten minutes. Let’s streamline your sweat.
The 10-Minute Countdown
Efficiency is the name of the game. We’ve broken this down into four high-impact phases. No wasted motion.
Phase 1: The Physical Foundation (2 Minutes)
Don’t just drop your trainer anywhere. Strategic placement prevents mid-ride meltdowns.
- Clear the Zone: Choose a spot near a dedicated power outlet. Smart trainers need consistent juice to manage resistance.
- Protect Your Space: Lay down a high-density mat. It’s not just for the floor; it dampens vibrations (your neighbors will thank you) and catches the inevitable puddle of sweat.
- Mount the Rig: If you have a direct-drive trainer, remove your rear wheel and line up the cassette. Shift into the smallest cog before you start; it makes the alignment effortless. For wheel-on trainers, ensure the roller tension is tight enough to prevent slipping but not so tight it deforms the tire.
- Level Up: Use a front-wheel riser block if your trainer doesn't level the bike automatically. A bike angled downward is a recipe for numb hands and a sore back.
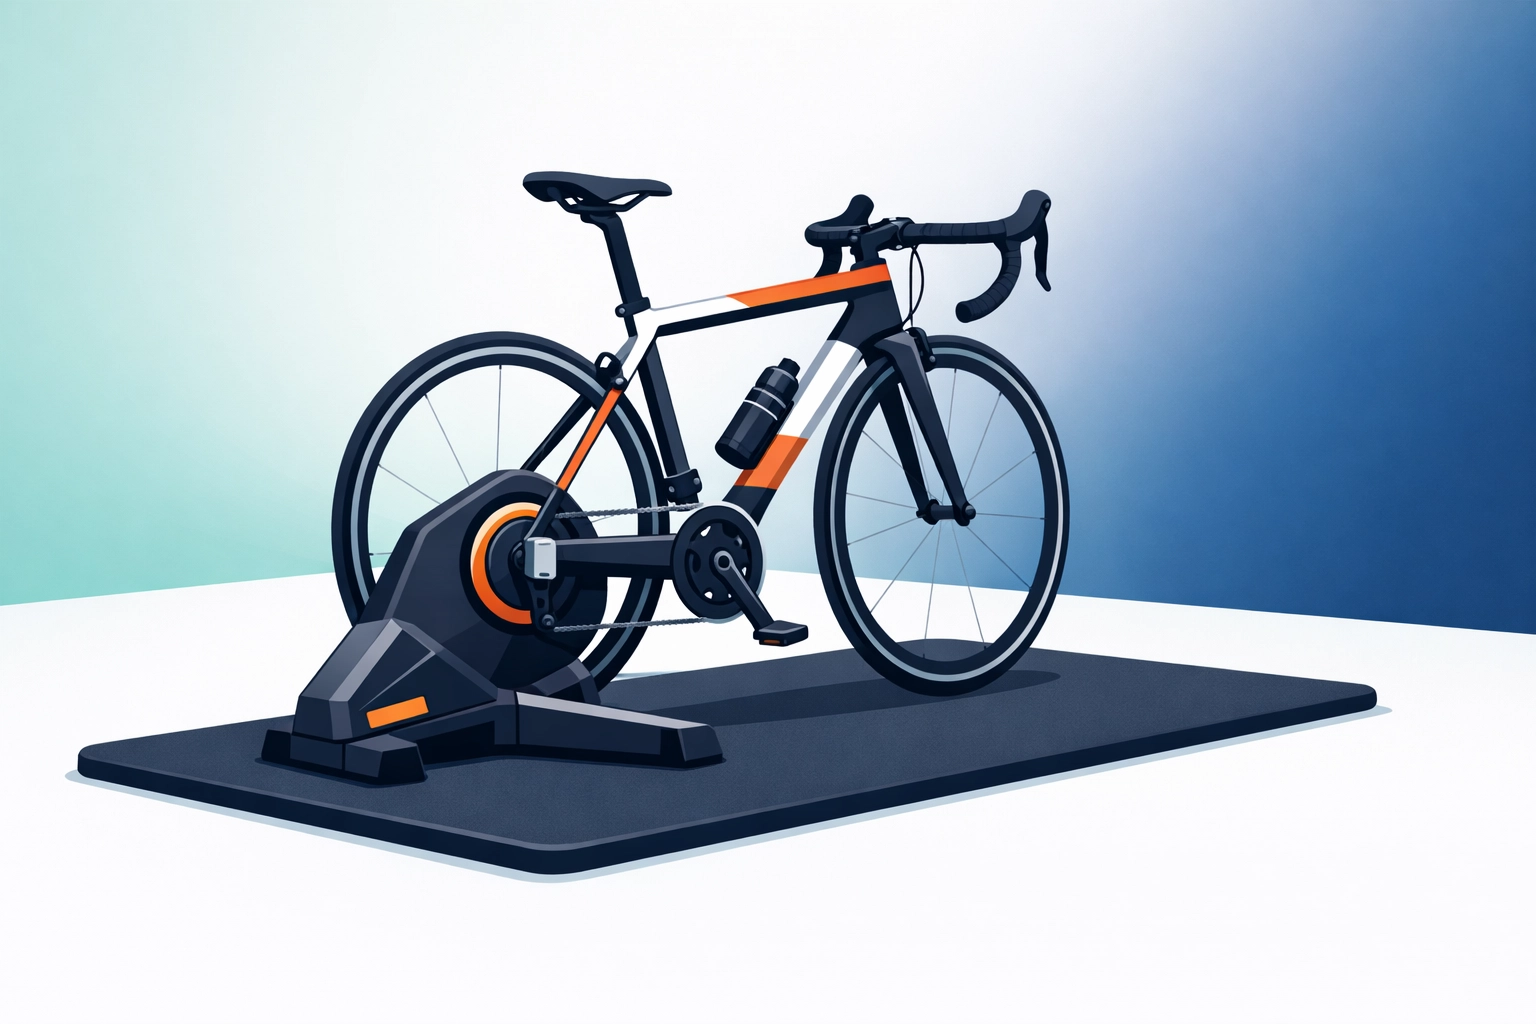
Caption: [IMAGE: Physical Setup and Bike Mounting]
Phase 2: The Digital Handshake (3 Minutes)
This is where most riders stumble. VeloWorkout is designed to be the ultimate Zwift alternative for those who want data over distractions. Let’s get the devices talking.
- Ignite the App: Launch VeloWorkout on your phone, tablet, or laptop. If you haven't explored our interface yet, you’ll notice it’s built for structured cycling training without the overwhelm.
- Enable Bluetooth/ANT+: Ensure your device’s Bluetooth is toggled on. If you are using an older Windows PC, plug in your ANT+ dongle now.
- Search and Pair: Navigate to the "Devices" or "Settings" menu in VeloWorkout. The app will automatically scan for nearby signals.
- Select Your Trainer: Look for your trainer’s name (e.g., "KICKR CORE" or "Tacx Neo"). Select it as your Power source and Controllable device. If you have a separate heart rate monitor or cadence sensor, pair those now too.
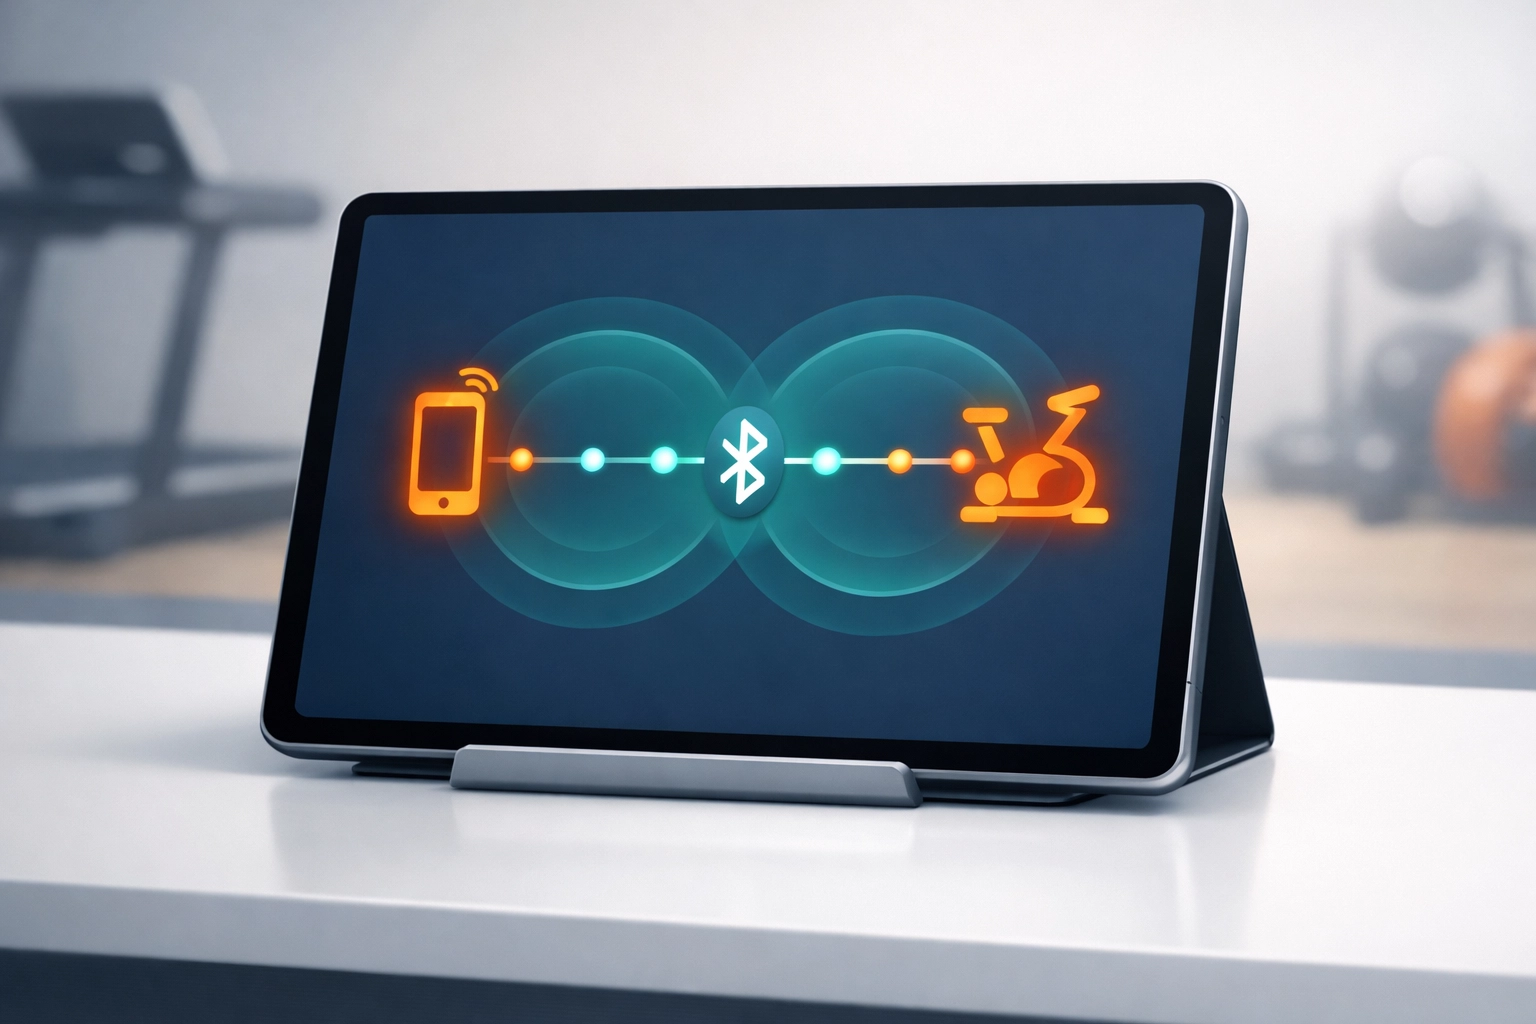
Caption: [IMAGE: Device Settings Screen]
Phase 3: The Precision Calibration (3 Minutes)
Accuracy matters. If your trainer thinks you’re pushing 200 watts but you’re actually doing 240, your indoor cycling workouts won't yield the results you deserve. This is especially vital if you are about to tackle an FTP test.
- Warm It Up: Pedal lightly for about 2 minutes. This gets the internal lubricants and the belt up to operating temperature.
- Execute the Spin-down: Within VeloWorkout or your trainer’s native app, trigger the "Calibration" or "Spin-down" command.
- Hit the Target: Accelerate to the speed requested (usually around 37 km/h or 23 mph).
- Coast to Zero: Stop pedaling completely and let the flywheel spin down naturally. The app will confirm "Success." Your power data is now locked and loaded.
Phase 4: Verification and Launch (2 Minutes)
Final checks ensure you won’t have to stop five minutes into your first interval.
- Check the Feed: Look at the dashboard. Bounce the pedals a few times, do you see the power numbers jump? If yes, you’re connected.
- Select Your Session: Head over to the VeloWorkout Library and pick a workout that matches your goal for the day. Whether it’s a VO2 Max blast or a steady Zone 2 ride, make sure it’s loaded before you start.
- Fan Check: Position your fan. If it’s not blowing directly on your core, you’re going to overheat. Overheating kills performance faster than a flat tire.
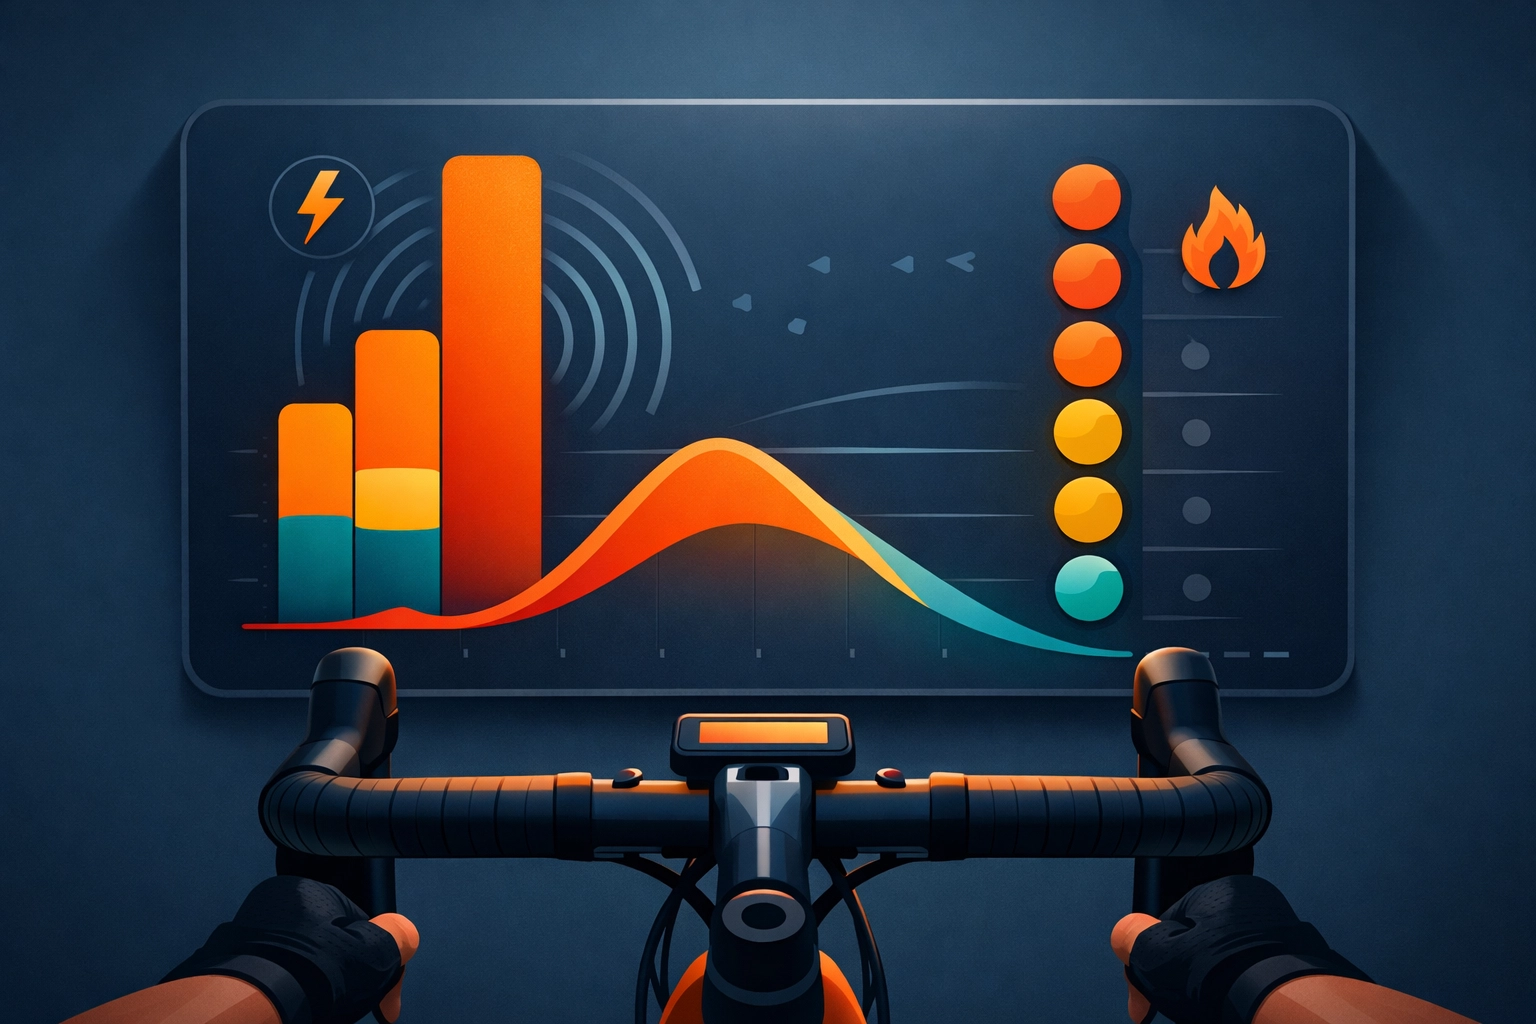
Caption: [IMAGE: Final Workout Dashboard View]
Troubleshooting: Defeating the "No Signal" Demon
Sometimes technology gets stubborn. If you aren't seeing your trainer, don't panic. Tackle these common culprits:
- The Signal Hijacker: Bluetooth is a "one-to-one" connection. If your trainer is paired to your phone's system settings or another app (like the manufacturer's utility app), VeloWorkout won't be able to see it. Close all other apps and unpair the trainer from your phone's Bluetooth menu.
- The Microwave Effect: Household electronics can interfere with 2.4GHz signals (standard for Bluetooth/ANT+). If your connection drops, try moving your device closer to the trainer or using a USB extension cable for your ANT+ dongle.
- The Power Cycle: When in doubt, unplug the trainer, wait ten seconds, and plug it back in. It’s a cliché for a reason, it works.
Why VeloWorkout?
If you’re looking for a free alternative to TrainerRoad, you’ve come to the right place. We prioritize efficiency. Our workout builder allows you to craft the exact session you need without the bloat of virtual worlds or expensive subscriptions.
Stop collecting data and start using it. By connecting your trainer to our platform, you gain access to pro-level analytics that tell you exactly where your fitness stands and how to move the needle.
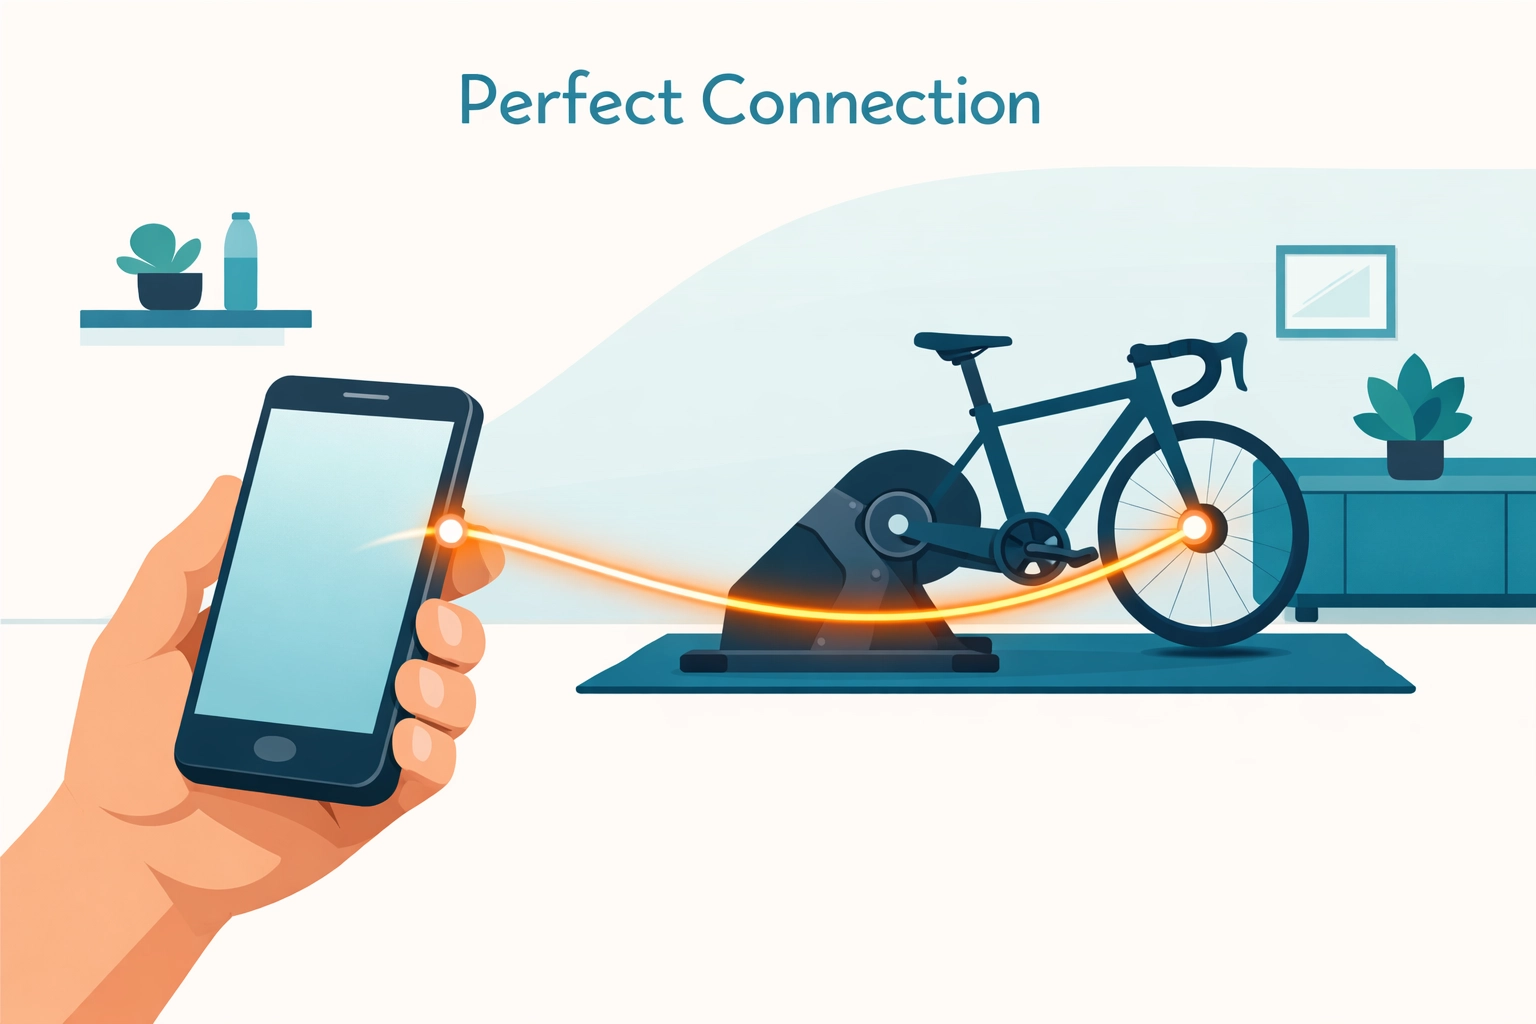
Caption: [IMAGE: Connecting a Smart Trainer Successfully]
Ready to Ride
Ten minutes are up. You’ve built the foundation, established the digital link, and verified your data. There are no more excuses.
Indoor training is about consistency. By removing the friction of a complicated setup, you make it easier to say "yes" to those early morning sessions or late-night intervals. Whether you are following one of our structured training plans or just spinning out the legs, your setup is now a finely tuned machine.
Master your gear. Own your data. Crush your next ride.
Need a workout to kick things off? Head over to our Builder and design a session that challenges your limits. Let's get to work.
Turn your training plan into actual progress
Build workouts, execute with smart trainer support, and track performance with data that matters.
Open VeloWorkout